DIY Murphy Bed – Working with a relatively small space can be frustrating, especially when you want to create a comfortable and well-designed bedroom. Most homeowners consider space a priority, but it is also a luxury and convenience to offer a guest bedroom. This is where a Murphy bed can come in handy.
What Is A Murphy Bed?
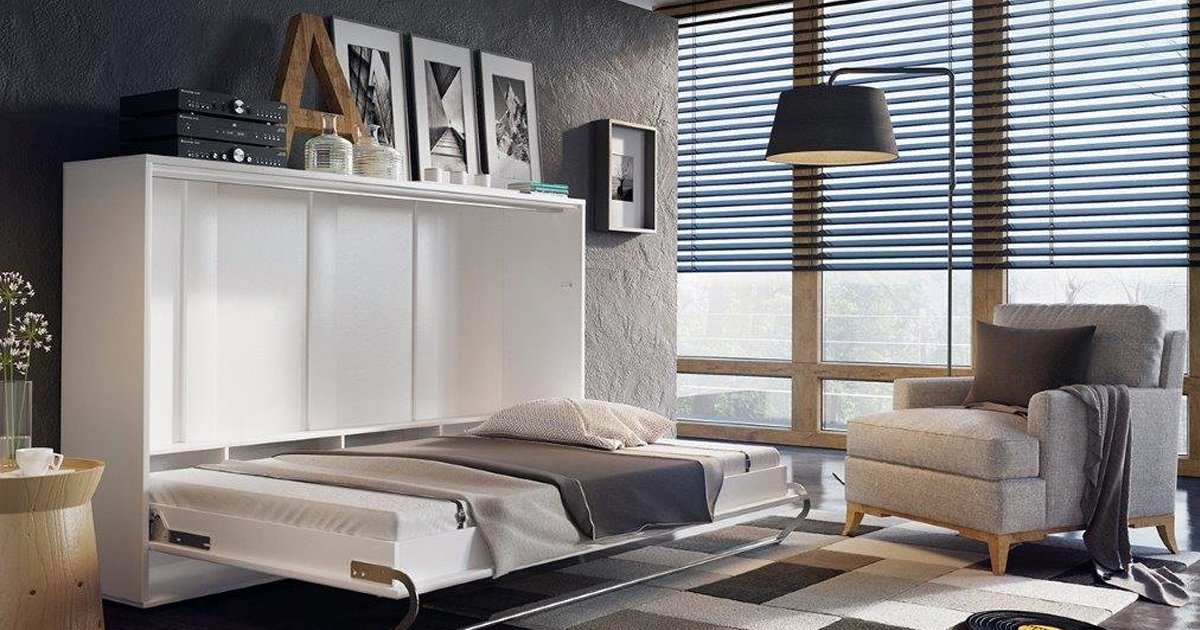
The Murphy bed is a cross between a cabinet and a bed. It is commonly referred to as a pull-down bed, wall bed or fold-down bed. It is usually hinged at one end of the bed, so it can be easily lifted vertically and stored away when not in use. This is useful in homes or apartments with limited space.[1]
Murphy beds can be purchased from local bedding shops, but they can be a bit expensive. If you are not willing to dole out the extra cash and would enjoy building one on your own, you can get your hands on DIY Murphy bed plans.
A DIY Murphy bed is accessible as long as you know your way around woodworking, reading plans, using the right tools, and following step-by-step instructions to achieve the best results.

How To Build A Murphy Bed
To allow for a spare room to be converted to a guest room, consider buying a Murphy bed kit. These kits are typically sold in various home improvement shops or shops that sell beds and include all the necessary hydraulics.
Once your DIY Murphy bed kit is in hand, it is time to assemble.

DIY Murphy Bed – Step #1 Read the Instructions
Once you receive your Murphy bed hardware kit, read all the instructions thoroughly. If the package comes with a DVD, watch it. It is important to review all instructions meticulously so you know the best approach and where the steps lead. There will be plenty of wood cutting, so make sure that you are aware of the scope of the work. [2]

DIY Murphy Bed – Step #2 Prepare The Materials
The instructions for building a Murphy bed usually provide a list of materials but you can adjust this list according to your specifications.
Use solid wood for its frame to create a sturdy, convertible bed for your room. [3] Since the materials require exact cuts, consider using your local hardware store to cut them for you. Most of the time, solid wood boards will be used for the frame struts, mounting cleats and sides, while plywood can be used for the rest.
In this tutorial for making your own DIY Murphy bed, you will need the following materials:
- Frame struts – (10) 3/4” x 1-1/2” x 60- 1/2” solid wood board
- Frame sides – (2) 3/4” x 1-1/2” x 80” solid wood board
- Footrail – (1) 3/4” x 3” x 62” plywood
- Side rails – (2) 3/4” x 5-7/8” x 81-1/2” plywood
- Headrail – (1) 3/4” x 7-7/8” x 62” plywood
- Headboard – (1) 3/4” x 15-7/8” x 64-3/8” plywood
- Face panel – (2) 3/4” x 32” x 81-1/2” plywood
- Verticals – (2) 3/4” x 15-7/8” x 87-1/8” plywood
- Header rails – (2) 3/4” x 2-3/4” x 64-3/8” plywood
- Leg support rail – (1) 3/4” x 3/4” x 60-1/4” plywood
- Mounting cleats – (2) 3/4” x 1-1/2” x 14-3/8” solid wood board
- Mattress support – (2) 1/4” x 31” x 80” plywood
- Drill
- Jigsaw
- Stud finder

DIY Murphy Bed – Step #3 Create The Struts
Segregate the strut pieces that came in the kit. Create the struts by gluing two strut pieces into an L shape with wood glue. Hold them together, then drill pilot holes about 8” apart along the struts’ length – pilot holes are created by taking a drill and making a small hole to guide where the screws will go. Secure them using the 1 ½ “ screws that came in the kit. [4]

DIY Murphy Bed – Step #4 Assemble The Subframe
Once you are done with the struts, it is time to build the sub-frame. Place the struts that came in the kit 20” apart and perpendicular to the sides of the frame. You will need to drill pilot holes which the 2” screws will go into.

DIY Murphy Bed – Step #5 Round The Corners
Round the corners for each side rail to a 2 7/8” radius. Use a jigsaw for this job.
You should also pre-drill for your Murphy bed hardware. These corners should be face up at the foot of your bed.

DIY Murphy Bed – Step #6 Assemble The Head And Foot Rails
Use a 1 1/4” bit to drill five pilot holes on the inside of the subframe – make sure they are evenly spaced.
Attach the head and the foot rails using 1 1/4” screws.

DIY Murphy Bed – Step #7 Install The Side Rails
Position the side rails beside the subframe with the rounded ends placed at the foot while the leg hardware is installed outside. The pilot holes should be drilled on the inside of the subframe on each side of the struts using a 1 1/4” bit.
You can now attach the rails to the subframe using 1 1/4” screws. The pilot holes should be drilled starting from the outside through the side rails all the way to the head and foot rail. Attach them with 2” screws.

DIY Murphy Bed – Step #8 Position The Panels
Place both face panels face down with the long sides together. Align the bed frame on top of the face panels. Your panels must extend 1/4” beyond your side rails on each of the long sides. The panels must be flush with the foot rail that you built, but they can extend beyond your headrail.
Trace between the struts to use them as a guide when applying glue. Do the same thing on the 1/4” panel reveal on the sides.

DIY Murphy Bed – Step #9 Attach The Panels
Apply glue to the face panels using the trace that you have made so you will be able to secure the struts. Reposition the subframe on the glue. Make sure that the subframe is flush with the panels at the foot of the bed and centered on the sides.
Apply the screws in order so that the face panels, as well as the subframe, will be aligned. Start by securing the last strut that is located on the foot using 1 1/4” screws on the corners. Two additional screws should be inserted in the center of the strut at the foot rail. Screw together the corners at the head of your bed before adding more screws to the rest of the struts to secure them to the face panels by increments of 6″.

DIY Murphy Bed – Step #10 Assembling The Header
The mounting cleats should be flush with the headboard’s shorter ends. Drill pilot holes into the headboard before attaching using 2” screws. The header must be face down before you screw a header rail at the rear end of the headboard. Leave about ½” of the header rail extending beneath the headboard. Align the rest of the header rail with the front edge of the assembly for the headboard, and leave about ½” extension underneath. Secure it using glue and finishing nails because this side will be visible.

DIY Murphy Bed – Step #11 Assemble The Cabinet
The verticals make up the cabinet sides while the header goes up at the top. Attach the verticals to the short side of the header using a drill and 2” screws. Use your jigsaw to cut a notch to provide clearance for your base molding. This will ensure the cabinet is flush against the wall.
Apply veneer tape, then iron it on all the visible edges of the plywood to give your cabinet a finished look.

DIY Murphy Bed – Step #12 Mount The Cabinet
Find the studs in your walls. Attach the back side of your header to these studs so the cabinet is installed on the wall.

DIY Murphy Bed – Step #13 Attach Your Hardware
Install the Murphy bed hydraulic mechanism that came with the hardware kit. It is important that the hydraulics kit fits your bed and cabinet, and that it is properly assembled.
Paint or stain the wood and add leg support based on the instructions that are included in the kit.

DIY Murphy Bed – Step #14 Add The Handles
Handles should be installed on the outside panels at a height that is comfortable for you. Typically, handles are 66″ from the floor, but they can be adjusted as you see fit.

DIY Murphy Bed – Step #15 Install The Support Panels For The Mattress
The final step is to install the support panels for the mattress to the inside of the bed so that the struts are covered. Use 1 1/4” screws. Add the elastic bands into the struts and through your mattress supports using 1 1/4” screws.
Murphy bed plans are extremely customizable in terms of size and materials as long as you have the hardware and the mechanism needed to raise your bed vertically. Other types of wood may be used for the project, but Murphy beds should be constructed with attention to strength and detail especially in terms of measurement and assembly.
Whether you are making a Murphy bunk bed or just an extra bed for your guest, you will find that this type of bed is a great weekend project for the DIYer in you.
You may also enjoy; DIY Room Decor – Top 10 Chic, Modern, And Rustic Trends For 2019
DIY Murphy Bed Resources:
[1] Mental Floss; Who Was Murphy and Why Is There a Bed Named After Him?, Matt Soniak, March 21, 2012.
[2] The DIY Village; DIY Murphy Bed; Making Room For Guests, Jacque, December 30, 2015.
[3] Bob Vila; Genius! DIY Murphy Bed.